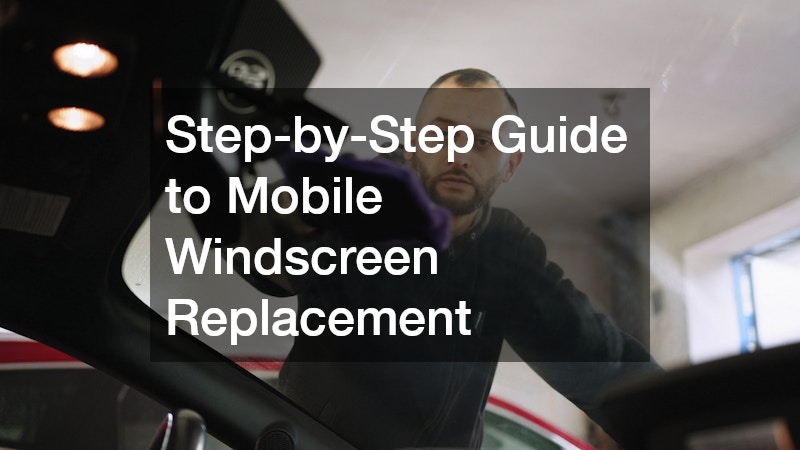
Step 1: Assess the Damage
Before scheduling a replacement, it’s important to assess the extent of the damage. Not all chips and cracks require a full replacement—minor damage may be repairable.
As a general rule, chips smaller than a 20-cent coin and cracks less than 7.5 centimetres long can often be repaired. However, anything in the driver’s line of sight or damage near the edges of the glass typically necessitates a full windscreen replacement.
If you’re unsure, most windscreen services offer a free assessment. A technician will inspect the damage and advise whether a repair or full replacement is needed. This step ensures you’re not paying more than necessary and that the solution provided is the safest option for your vehicle.
Step 2: Choose a Reputable Service
Selecting a reputable provider is essential. Look for windscreen replacement services that are certified, insured and offer a warranty on their workmanship and materials. Reading online reviews, checking for industry accreditation (such as IAME or SEMA membership) and comparing quotes can help you make an informed decision.
Mobile services offer the convenience of coming to your location—whether it’s your home, workplace or even roadside—saving you time and reducing the risk of driving with a compromised windscreen.
Step 3: Schedule Your Appointment
Once you’ve chosen a provider, schedule an appointment at a time and place that suits you. Most windscreen technicians can arrive within 24 to 48 hours and some offer emergency same-day services for urgent cases.
You’ll need to provide your vehicle’s make, model, year and vehicle identification number (VIN) to ensure the correct windscreen is ordered. If your car has advanced driver assistance systems (ADAS), such as lane departure warnings or rain sensors, inform the technician—these systems often require recalibration after a windscreen replacement.
Step 4: Prepare for the Technician’s Arrival
Although mobile windscreen services are designed to be hassle-free, a few simple preparations can help ensure the appointment goes smoothly. Park your car in a well-lit, flat area with enough space around it for the technician to work. If possible, choose a sheltered spot to avoid weather delays.
Remove any personal items from your dashboard and make sure the keys and vehicle are accessible at the agreed time. The technician may need to open the doors or bonnet to disconnect sensors or electronics.
Step 5: Removal of the Damaged Windscreen
When the technician arrives, they will begin by removing the damaged windscreen. This process involves taking off any trim or moulding, cutting through the adhesive holding the glass in place and carefully lifting the old windscreen out.
Next, the technician will clean and prepare the frame, removing any leftover adhesive or debris to ensure a smooth surface for the new windscreen. In some cases, minor rust or corrosion may need to be treated before installation can proceed.
Step 6: Installation of the New Windscreen
The new windscreen is then fitted using high-quality automotive-grade adhesive. The technician will apply a primer to both the frame and the glass to ensure a strong bond. The windscreen is carefully positioned and pressed into place, aligning with manufacturer specifications.
Once fitted, the technician will reinstall any moulding or trims and reconnect any ADAS systems or rain sensors. Depending on the adhesive used, a curing time is required—usually between 30 minutes and one hour. During this time, it’s essential to avoid driving the vehicle to ensure the adhesive sets properly.
Step 7: Post-Installation Checks & Clean-Up
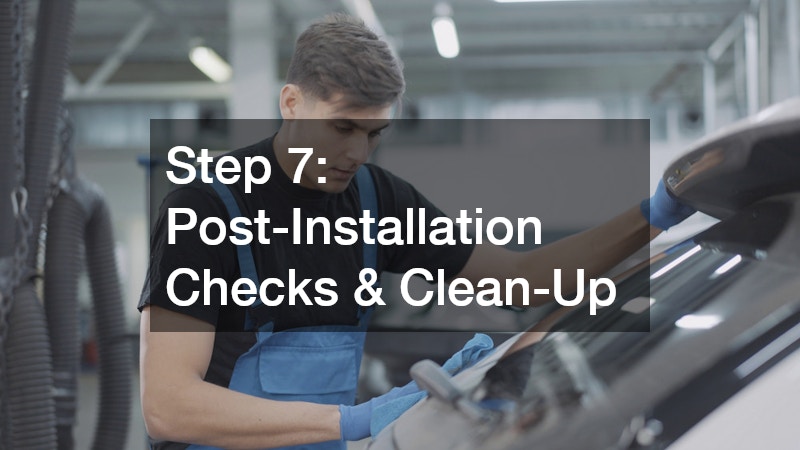
After the windscreens are installed, technicians will perform several checks. These include ensuring the glass is sealed correctly, that all sensors and cameras function properly and that there are no leaks or gaps. If ADAS recalibration is required, this may involve specialised equipment or a visit to a certified calibration centre.
The final step includes a clean-up of any glass shards, debris or adhesive residue from inside and around your vehicle. The technician will also provide aftercare instructions—such as avoiding car washes or rough terrain for the first 24 hours—and explain your warranty coverage.
A damaged windscreen can affect both visibility and vehicle safety if left unaddressed. Using a trusted mobile windscreen replacement service offers a fast and convenient solution. Understanding the process helps ensure confidence in the repair and keeps your vehicle roadworthy.